Att sy i dragkedjor
Att sy i dragkedjor i stickade plagg kan vara både svårt, krångligt, nästintill omöjligt och fruktansvärt, fruktansvärt enerverande.
Det kan också vara spännande, kul, en aning pilligt på ett roligt sätt och väldigt enkelt.
Jag ska berätta hur jag gör.

Jag fick inte med precis allt man behöver på den här bilden, men här kommer en lista:
- Ett stickat plagg
- Dragkedja (som passar i längd - glöm inte att mäta!)
- Penna
- Papper
- Fångnål (finns att beställa från bl.a. Skapamer)
- Stickor i samma storlek som du stickade plagget med
- En bit av samma garn som du stickade plagget i
- Sax
- Stoppnål
Steg ett är att lägga papperet mot plaggets avigsida och använda pennan för att markera hur långt det är mellan de aviga maskorna (hur långt det är mellan varven, alltså).

Steg två är att överföra dessa markeringar till dragkedjan.

Steg tre: Med hjälp av fångnålen, dra upp en ögla av garn genom dragkedjan vid den första markeringen.

Sätt sedan stickan i öglan och dra åt öglan, så att den får samma storlek som maskorna i det färdigstickade plagget.
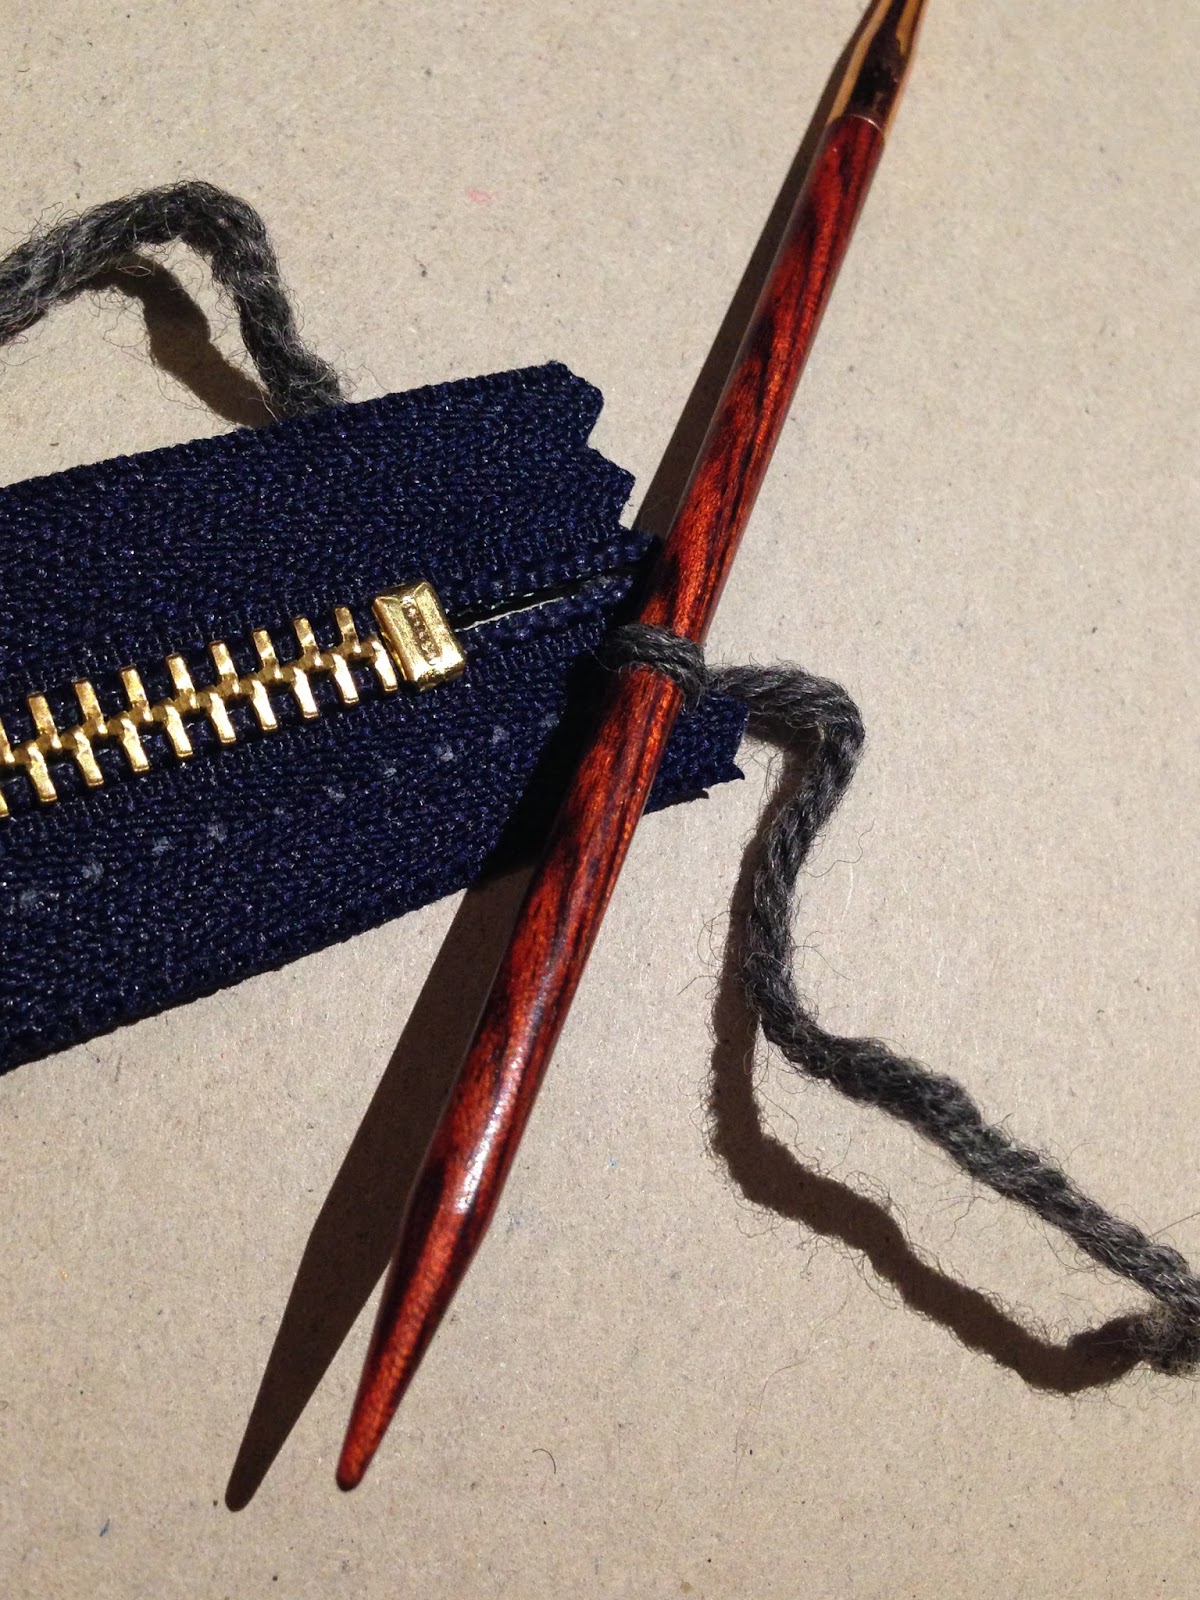
Dra ur stickan, för sedan fångnålen genom öglan och stick igenom dragkedjan vid nästa markering och dra upp en ny ögla, genom den första öglan.

Sätt stickan i öglan för att justera storleken.

Fortsätt på samma sätt.

När båda sidorna är färdiga så är det dags att börja sy i dragkedjan i det stickade plagget.
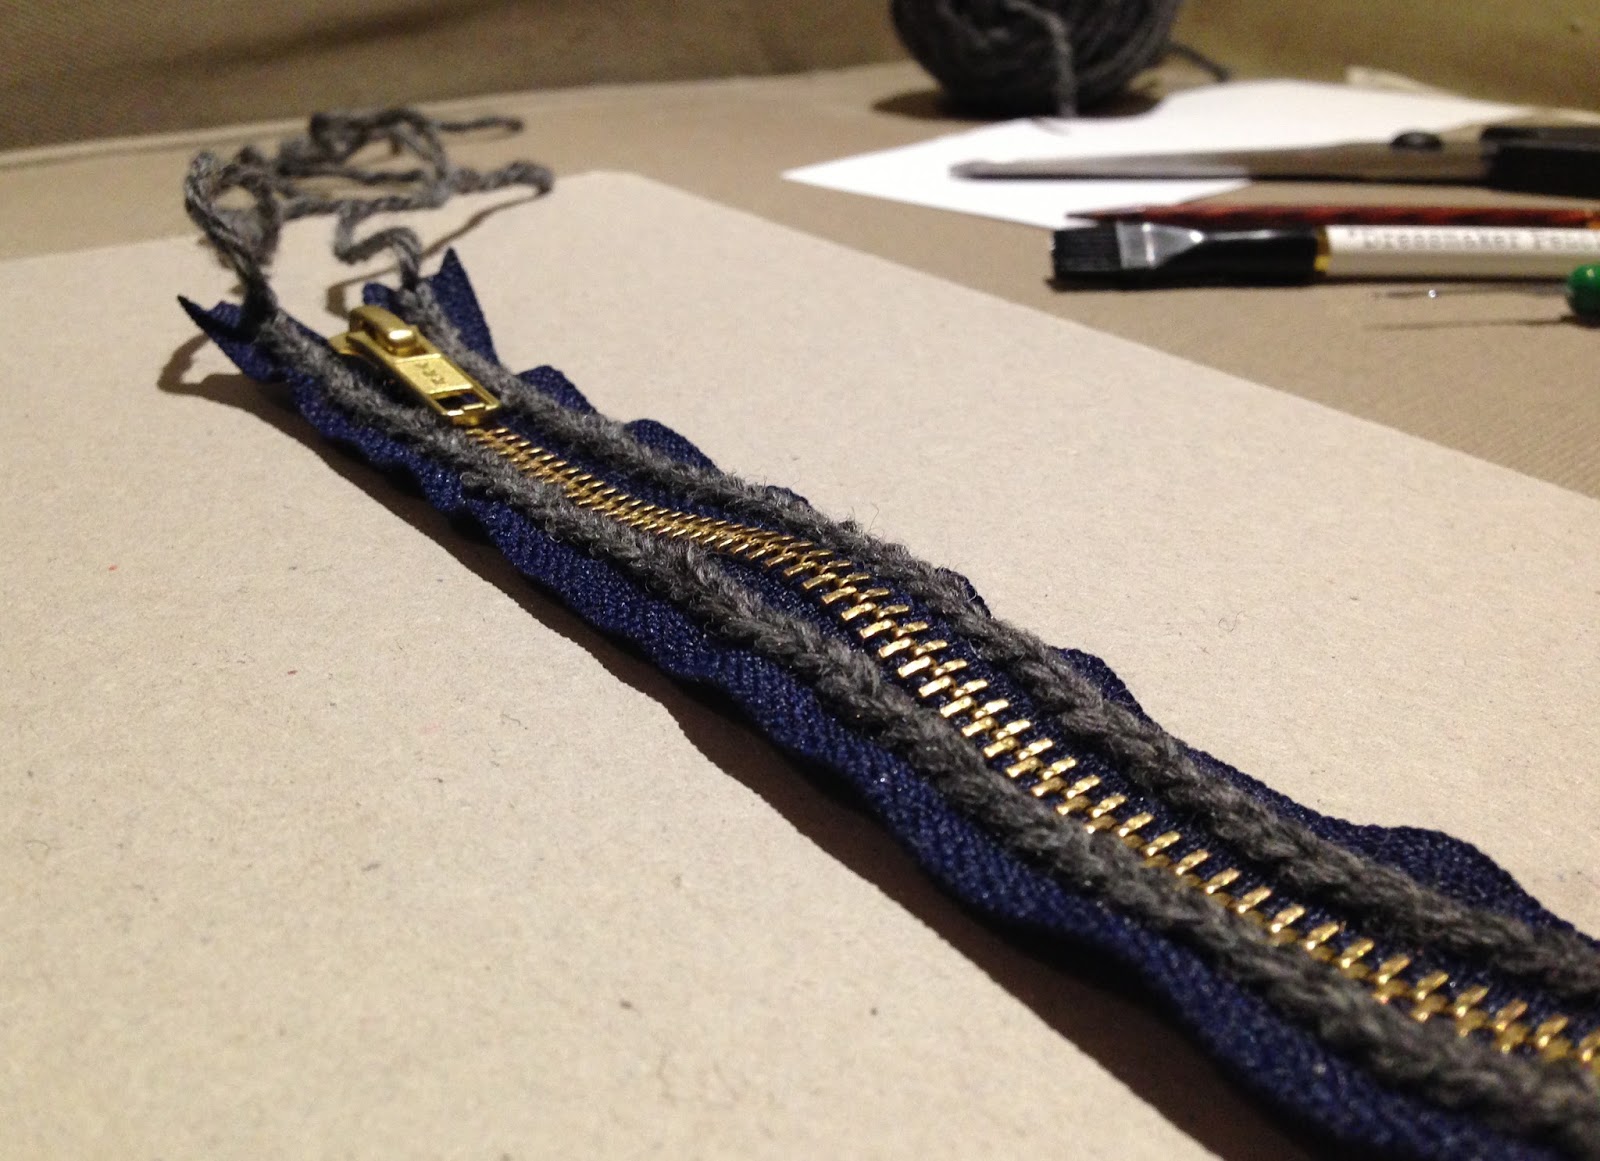
Med en ny bit garn, trä nålen genom den första av maskorna på dragkedjan.

Trä sedan nålen genom den första maskan (på avigsidan av arbetet) på plagget.

Sy sedan genom nästa maska på dragkedjan och sedan genom nästa maska på plagget. Fortsätt tills det inte finns några maskor kvar och fäst sedan garnet.

Den här tekniken gör att man inte behöver oroa sig för om dragkedjan ska hamna snett eller om den ska dra ihop stickningen på något ställe etc. Den ger också en snygg söm som inte syns från rätsidan.
Jag har i och med att jag har sytt i den här dragkedjan nu blivit klar med tröjan "Brigade" av Todd Gocken och den ska bara levereras till personen som ska få den. :)

Sticka lugnt! :)
/ Stefan
Installing zippers
Installing zippers into knitted garments can be difficult, cumbersome, almost impossible and terrible, terrible nerv-wracking.
It can also be exciting, fun, a tad fiddly in a fun way and very simple.
I'll tell you how I do it.
I didn't get everything you need into this photo, but here's a list:
- A knitted garment
- A zipper (that fits the garment's length - don't forget to measure this!)
- Pen
- Paper
- Knit picker (if you're in Sweden you can order this from Skapamer)
- Knitting needles in the same size as the ones you used for knitting the garment with
- A bit of the same yarn you knitted the garment in
- Scissors
- Tapestry needle
Step one is to place the paper on the back (purl) side of the garment and using the pen, marking how far it is between the purls (how far it is between the rows, that is).
Step two is to transfer these markings to the zipper.
Step three: Using the knit picker, pull up a loop of yarn through the side of the zipper at the first marking.
Put the knitting needle into the loop and tighten it so that it's the same size as the loops in the knitted garment.
Take out the knitting needle, then use the knit picker to go through the loop and stab through the side of the zipper at the next marking and pull up another loop, through the first loop.
Put the knitting needle in the loop to adjust the size of it.
Continue in the same way.
When both sides of the zipper are done it's time to start sewing it into the knitted garment.
With a new piece of yarn and using the tapestry needle, go through the first loop (or stitch, really) on the side of the zipper.
Then go through the first purl stitch on the garment.
Then you sew through the next stitch on the zipper and then through the next purl stitch on the garment. Continue in this way until there are no more stitches to sew though and then weave in all the ends.
With this technique you don't have to worry about having the zipper being crooked or that it will make the knitting pucker etc. It will also give you a nice seam that won't be visible from the knit side of the garment.
With having finished installing this zipper, I've now finished the sweater "Brigade" by Todd Gocken and it's now going to be delivered to the person I'm going to give it to. :)
Happy knitting! :)
/ Stefan